Skylights, often considered architectural marvels, offer more than just aesthetic appeal to a space. They have the remarkable ability to transform interiors by ushering in natural light, creating a brighter, more inviting atmosphere. If you’re considering adding a skylight to your home or workspace, this comprehensive guide will walk you through everything you need to know about skylight installation and how it contributes to illuminating your environment.
Why Choose Skylights?
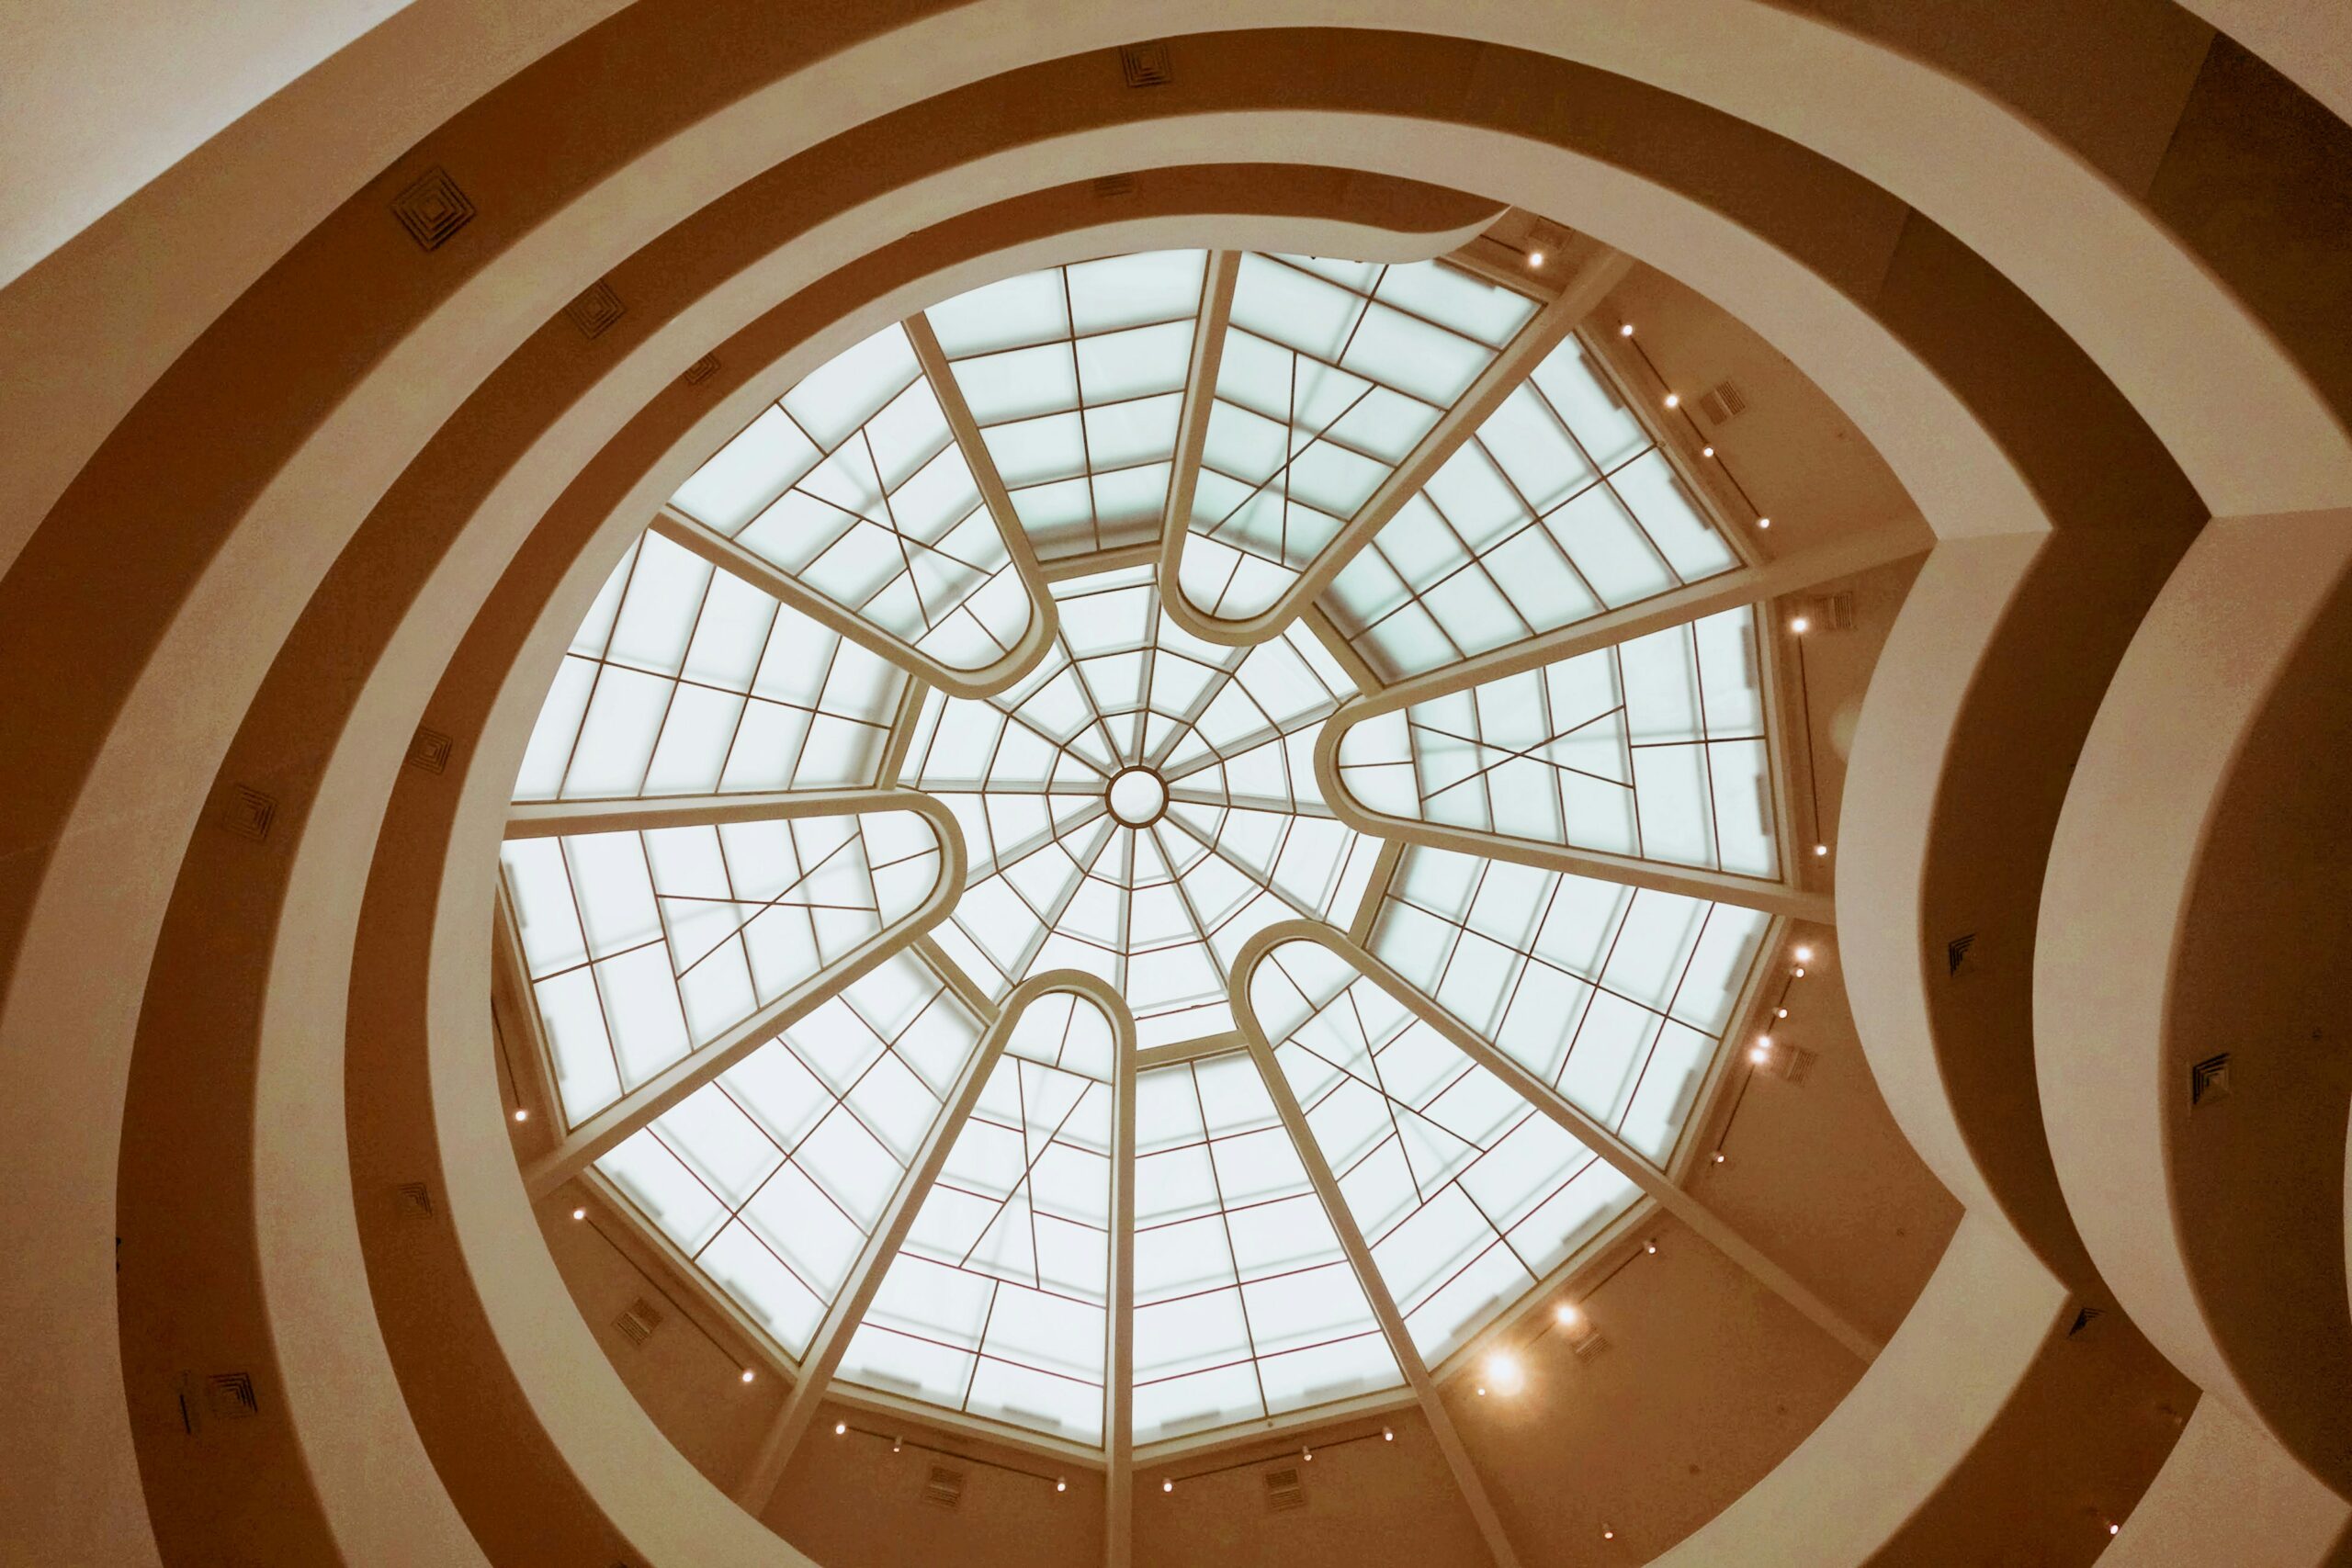
Skylights Balcatta serve as portals to the sky, channeling sunlight directly into interior spaces. Beyond their decorative function, skylights offer a multitude of benefits:
- Natural Light: Skylights harness the sun’s rays, infusing interiors with natural light that enhances mood and productivity while reducing reliance on artificial lighting.
- Energy Efficiency: Properly installed skylights can reduce the need for electric lighting during daylight hours, leading to potential energy savings and a reduced carbon footprint.
- Enhanced Ventilation: Many skylights are designed to open, allowing for improved airflow and ventilation, which can contribute to a healthier indoor environment.
- Visual Appeal: From a design perspective, skylights add architectural interest, creating visual focal points and lending a sense of spaciousness to any room.
Types of Skylights
Before diving into installation, it’s crucial to understand the different types of skylights available:
- Fixed Skylights: These are stationary, non-operable units designed solely to admit light. They come in various shapes and sizes to suit different architectural styles.
- Ventilating Skylights: Also known as operable skylights, these models can be opened either manually or electronically to facilitate ventilation and airflow.
- Tubular Skylights: Ideal for smaller spaces or areas with limited ceiling space, tubular skylights consist of a small dome on the roof connected to a reflective tube that channels sunlight into the room below.
- Flat Roof Skylights: Specifically designed for flat or low-sloped roofs, these skylights provide an elegant solution for modern architectural designs.
Factors to Consider Before Installation
Proper planning is essential to ensure the successful installation and optimal performance of skylights. Here are some factors to consider:
- Roof Structure: Assess the pitch, material, and condition of your roof to determine compatibility with skylight installation in Alkimos.
- Location and Size: Strategically position skylights to maximize sunlight penetration while minimizing heat gain or loss. Consider the size of the skylight relative to the room’s dimensions for balanced illumination.
- Climate Considerations: Account for local climate conditions, such as sunlight exposure, temperature fluctuations, and precipitation, to select skylights with appropriate glazing and insulation properties.
- Building Codes and Permits: Check local building codes and regulations regarding Piara Waters skylight installation, including permits and safety requirements, to ensure compliance and avoid potential issues.
The Installation Process
Skylight installation is a complex task best left to experienced professionals. However, understanding the basic steps involved can help you communicate effectively with contractors and ensure a successful outcome:
- Site Assessment: Evaluate the selected location on the roof, taking into account structural integrity, roof framing, and potential obstructions such as vents or chimneys.
- Roof Preparation: Prepare the roof surface by removing roofing materials as necessary to create an opening for the skylight.
- Flashing and Waterproofing: Install flashing components and weatherproof membranes around the skylight opening to prevent water infiltration and ensure a watertight seal.
- Skylight Installation: Carefully place the skylight into the prepared opening, securing it in place according to manufacturer guidelines and adjusting for proper alignment.
- Insulation and Sealing: Apply insulation around the skylight frame to minimize heat transfer and seal gaps to prevent air leaks.
- Interior Finishing: Complete the installation by finishing the interior space around the skylight, including drywall, trim, and any additional features such as blinds or shades.
Maintenance and Care
Once installed, skylights require regular cleaning and maintenance to ensure optimal performance and longevity:
- Cleaning: Keep skylight surfaces clean and free of debris to maximize sunlight transmission and prevent deterioration of seals and finishes.
- Inspection: Periodically inspect the skylight for signs of damage, leaks, or wear, especially after severe weather events or seasonal changes.
- Sealant Replacement: Replace worn or deteriorated sealants and gaskets as needed to maintain the integrity of the skylight assembly.
- Professional Inspection: Schedule professional inspections annually to identify and address any issues promptly and ensure continued functionality.
Skylights offer a myriad of benefits beyond mere illumination, contributing to the overall ambiance, energy efficiency, and functionality of a space. By understanding the installation process and considering key factors such as location, size, and climate, you can harness the power of natural light to brighten and enhance your environment. With proper maintenance and care, skylights can illuminate your space for years to come, enriching your living or working experience with the timeless beauty of sunlight.